AT THE CROSSROADS BETWEEN MARKETING AND GOOGLE RULES: HOW TO OPTIMISE IMAGES!
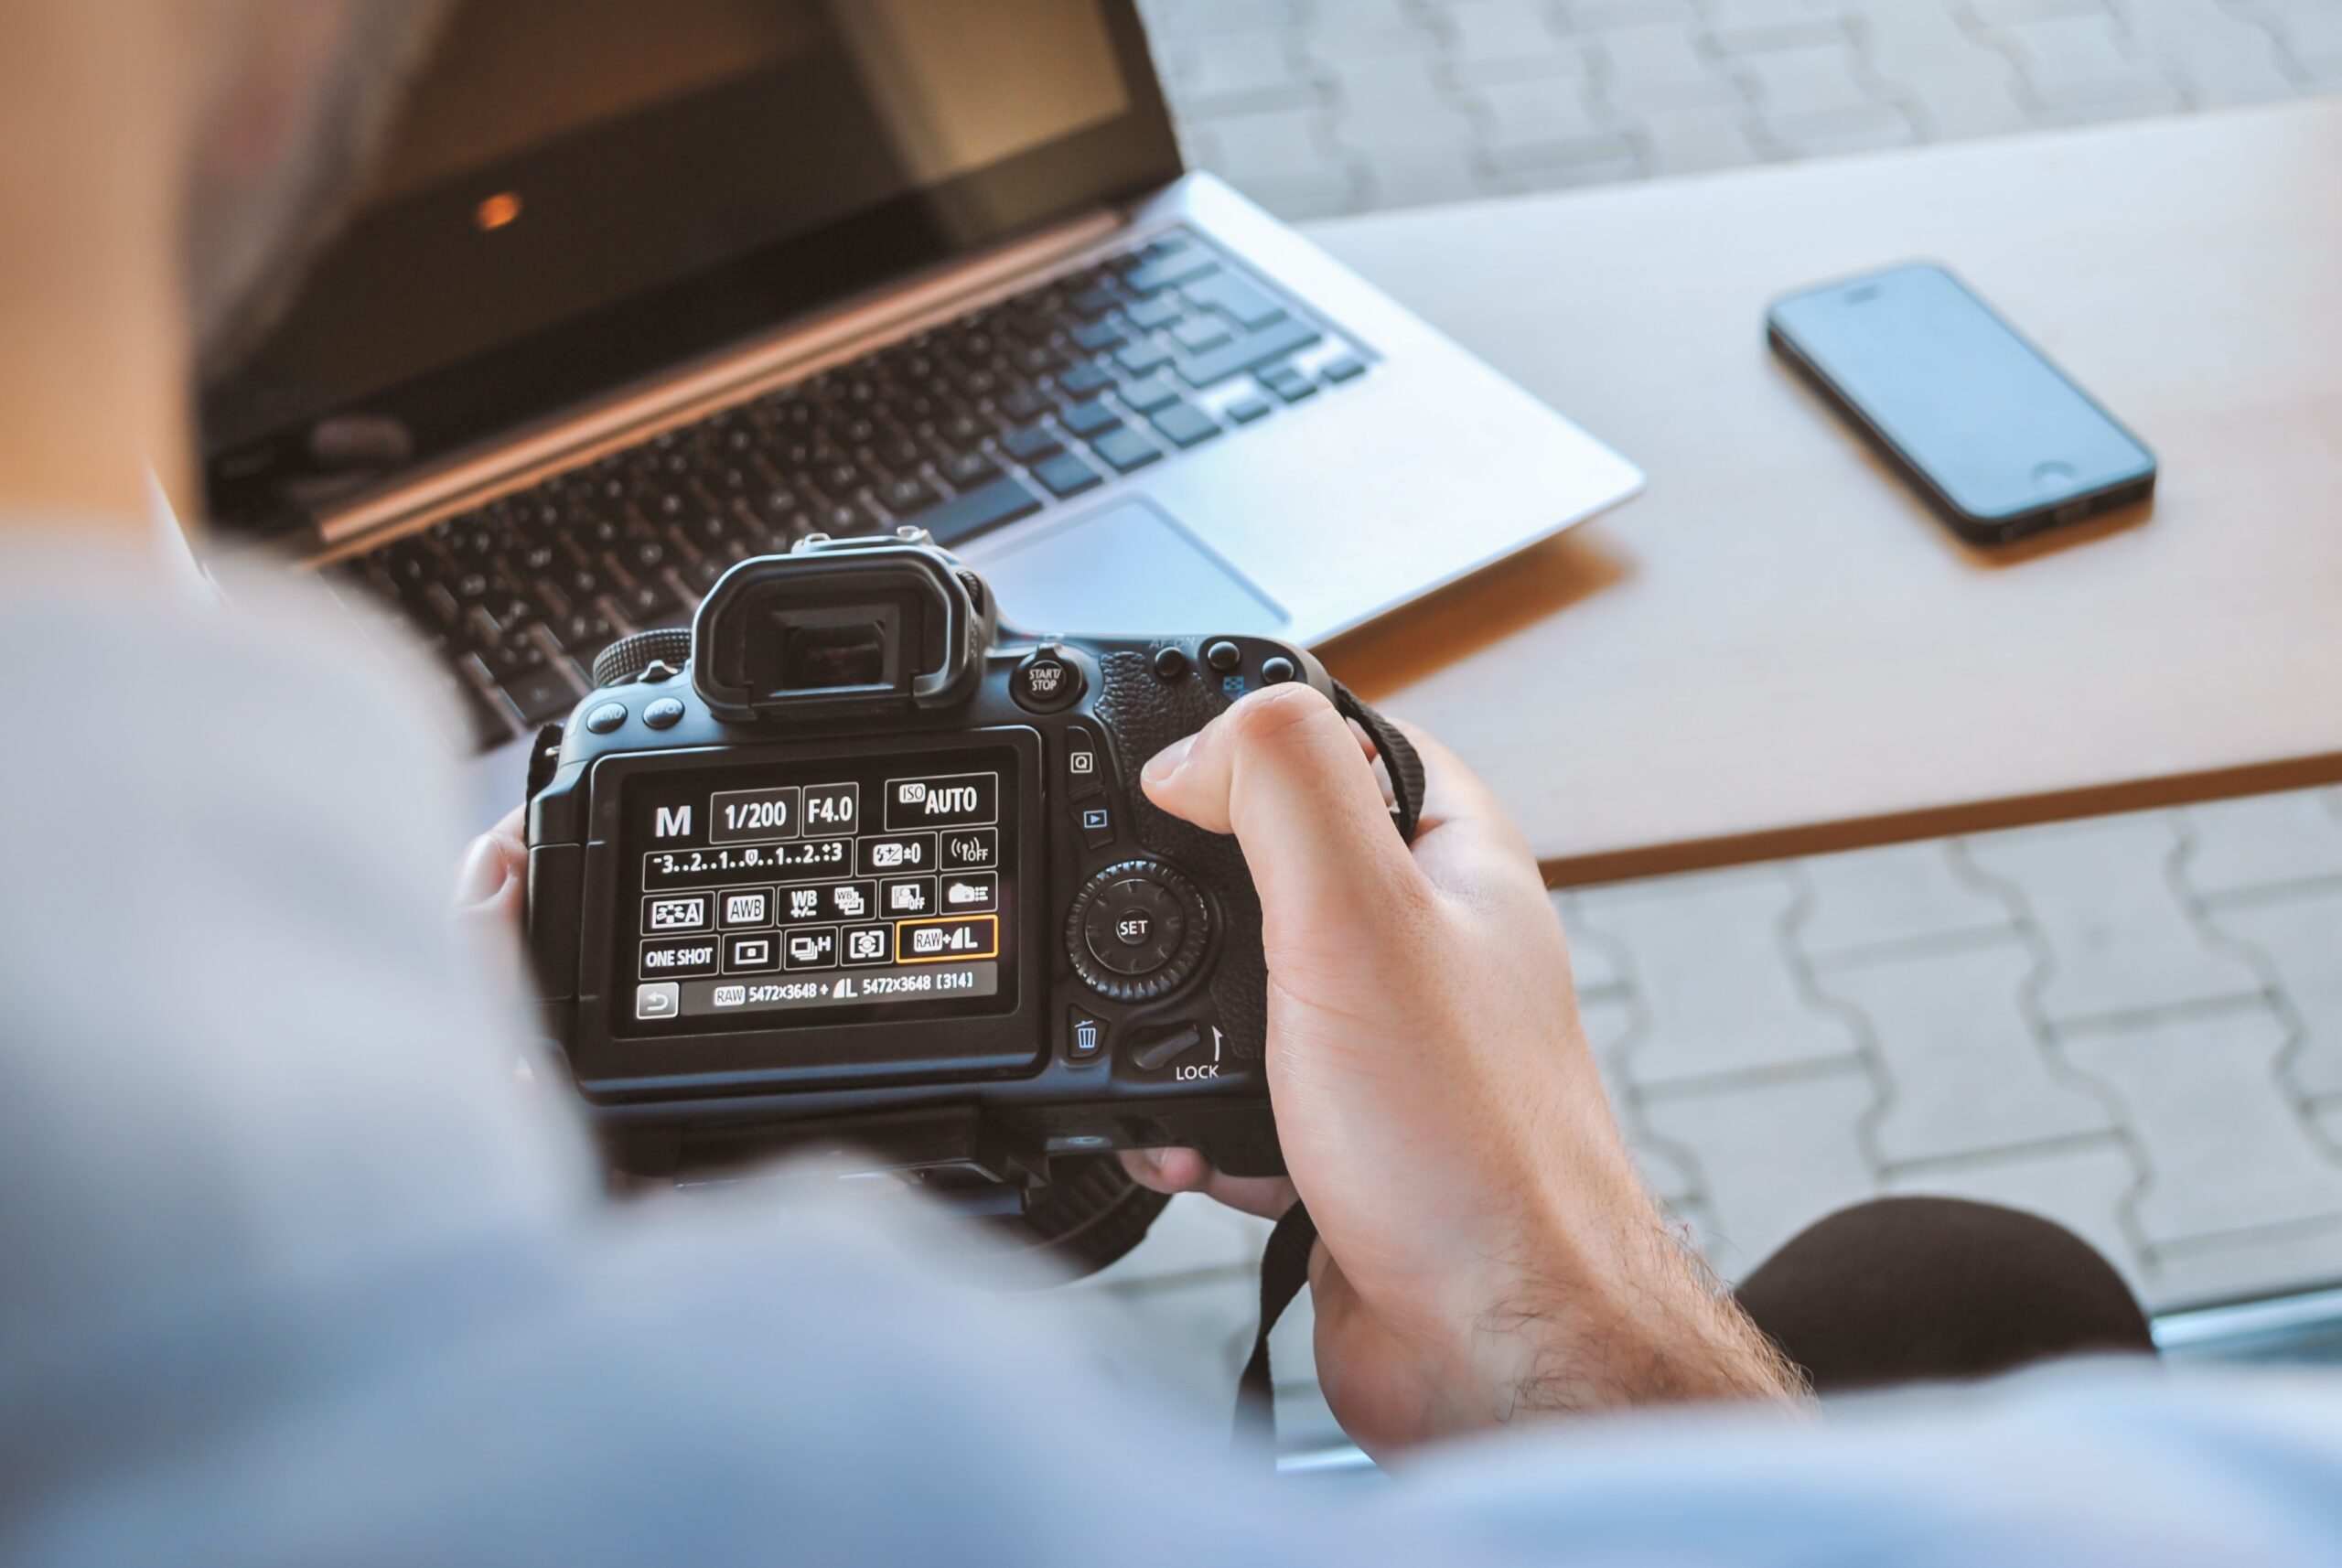
Optimising images for a website, in short, means adjusting the image size to Google’s webpage loading speed policy. However, in order for the image to maintain its quality and remain equally valid for both Google and the user, formatting is required.
In addition to quality text, the image is another mandatory factor of any quality communication with the user. Although marketing experts often stress that it’s better to stick to the living word, the image is something that remains in the user’s memory, sometimes leaving a much greater effect than the sound.
However, the rules of marketing are one thing, and Google’s rules are quite another. The speed of the website, more precisely, the speed of loading the content on it, is extremely important for SEO. The slower the content on the website is loaded, no matter how interesting it is, the user/reader probably won’t open it.
Website speed doesn’t only depend on the image size but also on web hosting. For example, by creating a MySQL hosting account on some of the numerous plans whose performances were tested and recommended, your website will be placed on speed optimised servers. This way, you’ll avoid page load delay that impacts SEO rankings and even impacts your bounce rate and conversion rate.
Google Optimisation Policy
Users of social networks and the new Internet generation have extremely sharpened senses for the quality and lasting of content. All marketing policies are user-friendly but all Google policies are user-friendly, too. You guessed it, none of that is in line with your own rules. So… as much as your image makes sense from an aesthetic and educational point of view, maybe you shouldn’t put it on your blog, because its size is, for example, as much as 600 kb. What does this mean now?
This means that if you have a lot of images, it’s very likely that the performance of the website will be impaired. And Google doesn’t like that. So a lot of images -> slow website loading -> Google is angry.
In case you try to please Google and do something like reducing the image format, and the image loses its quality and becomes blurry, we have the following situation: you change the image size -> the image is blurry -> Google is angry.
This frustration can be resolved, but with proven tactics and the support of certain programs.
Image Optimisation – Benefits
Nearly a quarter of the website’s “weight” is consisted of images, more precisely, 21 %. Furthermore, images make up 68% of the size of webpages sent to mobile phones. This should mean that the first thing you need to do is optimise the images. It’s not a difficult job at all, but ironically, the least time is spent on that part of the SEO process.
The benefits of image optimisation are:
● Improving page load speed
● Visibility in search engine results. Big images slow down a website, and Google hates slow websites
● Faster creation of backups
● Reducing image loading time
● Reducing space on your server. Large images require more server space, which costs more. And as far as we have seen, Google isn’t thrilled with the huge photos either.
Formatting, What Is It?
The primary goal of image formatting is to find a balance between image size and acceptable quality. You can do this in Adobe Photoshop or through WordPress plugins, some of which we’ll mention a bit later.
The two basic things to consider are the file format and the type of compression you use. By choosing the right combination of file format and compression type, you can reduce the image size by as much as 5 times. You definitely need to experiment with each image format to see what gives the most and the best results.
File Formats
Before you start editing your images, make sure to choose the best file type out of several most used:
● PNG – quality isn’t lost during compression, but the file size is larger
● JPEG – allows you to adjust the image according to the balance of image quality and size
● GIF – uses only 256 colours. It’s the best choice for animated images. It uses just compression without loss of quality.
There are several other formats, such as WebP, but they aren’t universally supported by all browsers. Ideally, you should use the JPEG (or JPG) format for multi-colour images and the PNG format for simpler images.
As it’s recommended that the weight of the website be up to 1 MB, large images shouldn’t be placed. However, the big image and the blurry image are equally unacceptable to Google.
What to do in this case? In front of you, there are three images: the first image has 356 kb, the second image has 40 kb, and the third image has 124 kb. What’s most acceptable for maintaining image quality? Well, option No. 3 because it retains the quality of the original image (No. 1) and, at the same time, is compressed to an acceptable weight, that is, the weight that Google accepts.
Compression With and Without Loss of Image Quality
In the previous case, we decided on the step of eliminating the image quality, more precisely, we chose the option to slightly impair the image quality in favour of reducing the size. But, we did so that the appearance of the image isn’t completely impaired, only to the extent that best suits the original image.
If the image quality is maintained, the image needs to be uncompressed until it’s displayed. This can be done in Photoshop and FileOptimiser. Many plugins support gzip compression on images (minimization). However, regardless of the compression tool used, it’s important to have the option to save the image for a web page (save for web) thus, obtaining optimal image compression.
Image compression programs that you can use are Adobe Photoshop, Affinity Photo, GIMP, Paint.NET, Gifsicle, FileOptimiser, TinyPNG, etc.
Does CSS Resize the Image?
If you use WordPress, your images will be reduced to a certain size for the WordPress library when uploading. To prevent CSS (language that’s quite often used in WordPress to add style and describe how HTML elements are to be displayed) from resizing an image, you need to make sure that the maximum width matches the width of your website.
WordPress offers the ability to place a small photo within a text, but let’s not forget that the original size of the image you uploaded hasn’t changed. If you want to resize images and save disk space by not storing the original one, you can use a free plugin called Insanity. It allows you to limit the image to normal size before it’s uploaded, more precisely, before it’s displayed in WordPress.
Of course, that’s why WordPress has designed plugins that will help you make this type of work easier, with our suggestion that, regardless of the recommended plugins, you compress the image in advance in accordance with the appropriate quality and size.
Plugins We Recommend
Imagify

Imagify has a complex optimisation where you can choose between three different compression levels: normal, strong, and ultrasound. It also has a restore function, so if you aren’t satisfied with the quality, you can click once to restore and re-compress at a level that better suits your needs. There’s a free version and a paid version. You are limited to a size of 25 MB of images per month with a free account.
WP Smush

WP Smush is compatible with some of the most popular media library plugins such as WP All Import and WPML. All image optimisations are done by lossless compression, which preserves the image quality. It doesn’t matter in which directory the images are stored as this plugin finds and compresses them quickly.
It will scan the images and compress them as they are uploaded to the library. It can compress up to 50 files at once and works with all file types. The file size is limited to 1 MB. Smush has the ability to automatically adjust the width and height for all images and, like all other plugins, it has a free and paid version.
TinyPNG

TinyPNG uses TinyJPG and TinyPNG files to optimise JPG and PNG images. This program will convert CMYK (four basic colours used for printing colour images) to RGB (red, green, blue) to save space. JPEG images will be captured up to 60 % while PNG images will be captured up to 80 % and, which is very important, no visible loss of image quality will occur. This plugin has no limit in file size.